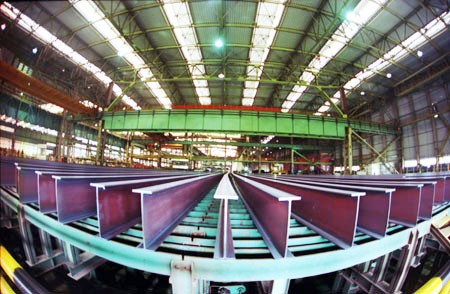
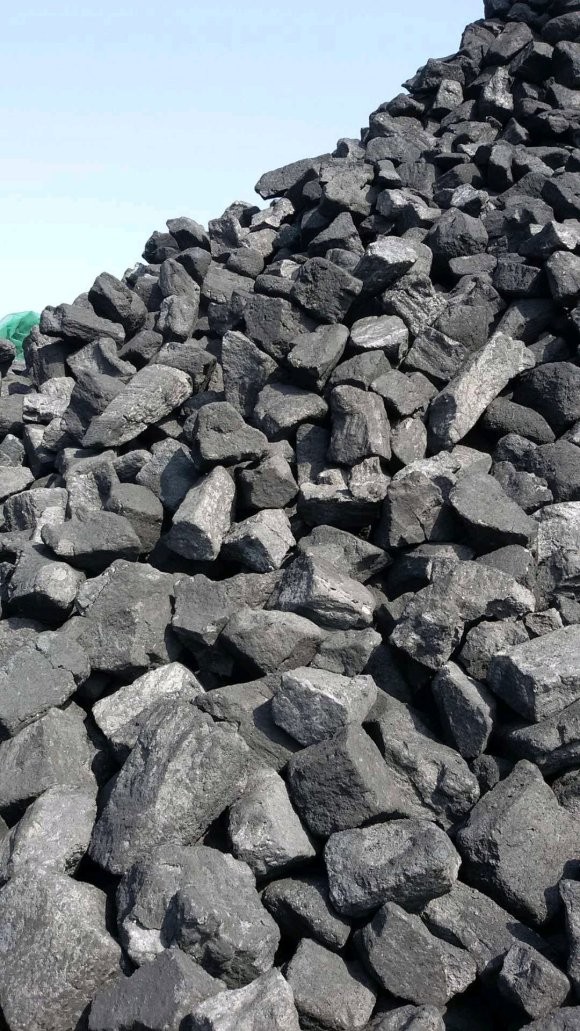
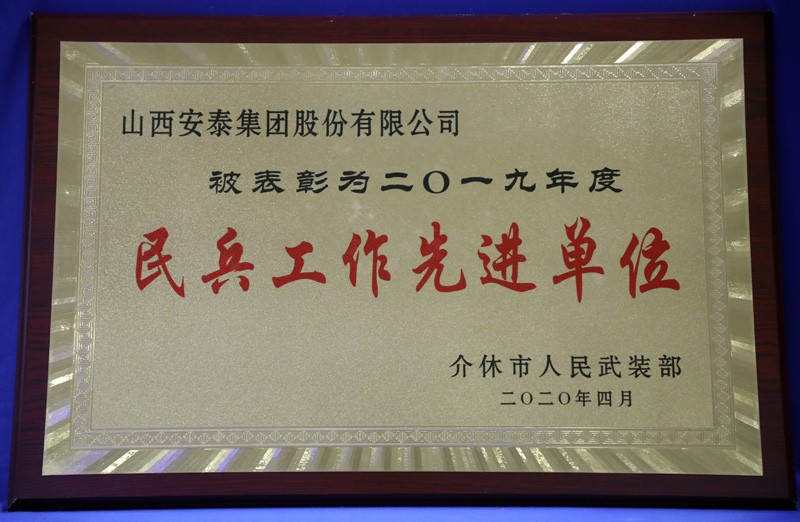
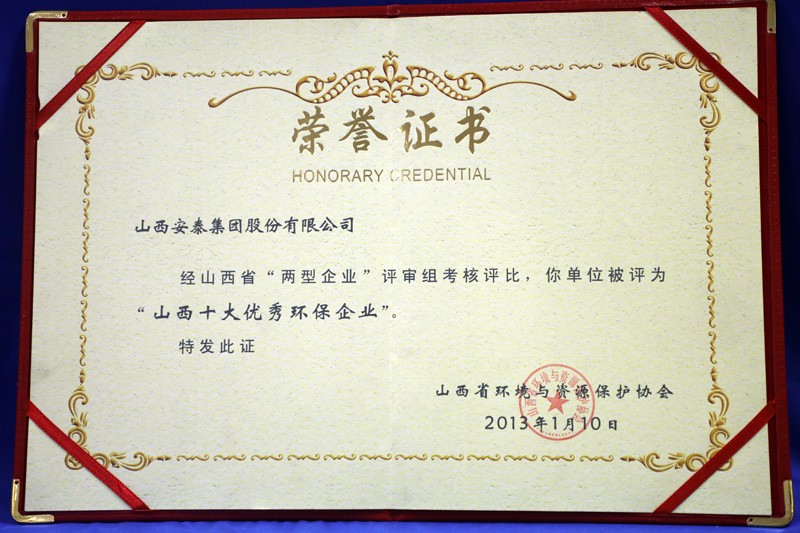
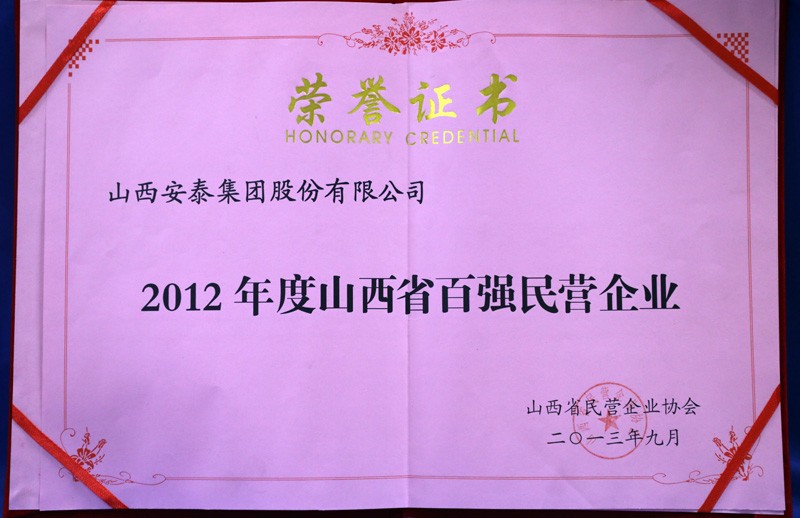
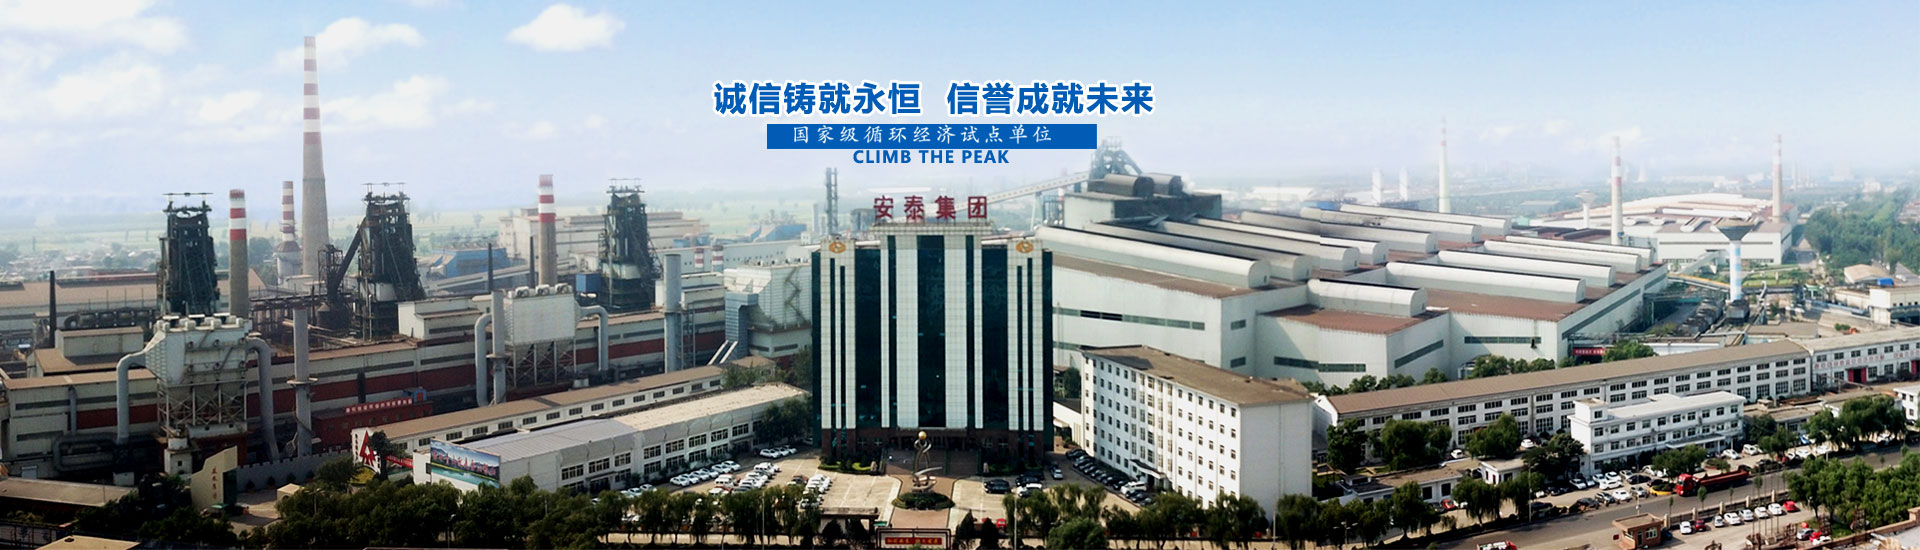
WOW! How to Create Animation in PPT 2024

Written by paisa hunt

Published on:

Creating Dynamic PowerPoint Presentations Using PowerPoint Templates for Animation

PowerPoint’s animation effects offer seamless visual transitions within your presentation, dynamically moving objects to capture viewers’ attention. Motion taps into fundamental human instincts, naturally drawing the eye and enhancing engagement. When used effectively, animations not only entertain but also highlight key points, making your message more memorable.

How to Create Animation in PPT, Microsoft PowerPoint provides a range of animations applicable to text, shapes, and images. Common effects like Appear, Fade in, and Fly in are frequently utilized, but sometimes, creativity demands unique animations beyond the standard options.

Custom animations can be achieved in two primary ways:

  1. Animation Combo: Applying multiple animations to a single object.
  2. Custom Motion Paths: Defining unique movement paths for objects.

Let’s explore both methods, examining their variations and providing examples.

In this guide, we’ll demonstrate how to create animated PowerPoint presentations using templates. You’ll learn to craft animated slides and incorporate diverse animation effects directly within PowerPoint, eliminating the need for separate applications.

There are two main types of animation in PowerPoint that we’ll cover:

  1. Object Animations: Individual elements such as text or shapes moving within a slide.
  2. Animated Transitions: Effects played when transitioning between slides.

Throughout this tutorial, we’ll showcase how to integrate both types of animations into your presentations. Additionally, we’ll delve into crafting animated slides using PowerPoint templates.

For more animated PowerPoint templates, consider exploring Envato Elements or browse through our curated selection for inspiration.

The Benefits of Utilizing PowerPoint Animations

Animations in PowerPoint serve two primary purposes, offering compelling advantages for presentations:

  1. Pace Control: Animations enable precise control over the delivery pace of your presentation. By orchestrating transitions and reveals, you dictate when each element appears, allowing you to synchronize content delivery with your speaking points. This ensures a smooth flow and helps maintain audience engagement.
  2. Visual Enhancement: Incorporating animations enhances the appearance and interest of your slides. Dynamic movement and transitions captivate viewers’ attention, making your presentation more visually appealing and memorable. Animations add depth and dimension to static content, transforming it into a dynamic visual experience.

In essence, PowerPoint slide animations serve as a tool for managing the flow of information and enhancing presentation aesthetics. They empower presenters to engage their audience effectively by controlling the timing and visual impact of each slide element.

Before leveraging animations, it’s advisable to start with a well-designed presentation. Numerous high-quality templates are available to streamline the creation process, saving you time and ensuring professional results.

Essential PowerPoint Animation Tips and Tricks for Beginners in 2024

Unlocking the potential of PowerPoint animations can greatly enhance your presentations. Here, we’ll explore 15 top animation techniques that serve as a shortcut to mastering this powerful tool.

Before we begin, it’s important to understand that PowerPoint animations are managed through the Animation Pane, providing precise control over each animation effect.

Now, let’s delve into these essential PowerPoint animation tips and tricks to elevate your presentations to the next level.

Introducing Your New Product of Strategic Animation Pitch

Utilizing controlled animations to pitch a new product can significantly enhance your presentation’s impact, captivating your audience and highlighting the product’s key features in an aesthetically pleasing manner.

When pitching a new product, less is often more. Drawing inspiration from successful presentations, such as those by Apple, simplicity is key. Opt for a straightforward entrance animation to introduce the product, capturing attention without overwhelming the audience.

To add a touch of drama to your animation, consider adjusting the timing. Instead of the standard 0.5 seconds, experiment with longer durations, such as 1 or even 2 seconds. Slower animations are less commonly utilized in presentations, making them more impactful and memorable.

By strategically incorporating controlled animations, you can effectively showcase your new product, leaving a lasting impression on your audience and elevating your presentation to new heights.

Enhance Presentation Structure with Section Transitions

A PowerPoint presentation unfolds much like a narrative, with distinct sections delineating its beginning, middle, and end. To seamlessly mark these transitions and captivate your audience’s attention, consider incorporating transition animations.

For instance, suppose you’re transitioning to your conclusion slide to re-engage your audience. A well-chosen transition animation can add an extra punch to this pivotal moment.

Within the Transitions menu in PowerPoint, you’ll find a plethora of captivating options to choose from. However, selecting the right transition requires careful consideration of the slide’s content you’re transitioning to.

For example, if you’re introducing solutions to previously outlined problems, the Fracture animation serves as a powerful metaphor, emphasizing transformation and resolution.

A valuable tip for leveraging transition animations is to explore the Dynamic Content category. These animations intelligently interact with your current slides, offering adaptations that seamlessly integrate with your content.

For instance, animations within this category may manipulate elements on the slide, providing subtle yet impactful transitions tailored to your presentation’s narrative.

By utilizing section transitions thoughtfully, you can elevate the structure and flow of your presentation, captivating your audience and guiding them through your story with finesse.

Mastering Animation for Choosing the Right Context

In mastering PowerPoint animations, understanding their strategic application is paramount. A simple yet effective guideline is the 80/20 rule: identify the 20% of your content that holds the most significance. These are the elements that warrant animation.

For instance, unveiling a new product line can be a pivotal moment in your presentation. Utilizing a Build In animation can effectively draw attention to this highlight.

PowerPoint facilitates this process by categorizing animations into different strengths: subtle, moderate, and exciting. Leveraging these distinctions ensures that your animations align with the importance of your content.

For example, use subtle animations to emphasize minor details, while employing more dynamic effects to underscore key points such as an increase in operating margins.

In essence, the key to effective animation lies in aligning its strength with the significance of each key point, thereby enhancing the overall impact of your presentation.

Animation 101 Simplify with Consistency

Even when aiming for subtlety and effectiveness, it’s easy to get carried away with animations in PowerPoint due to the plethora of options available. However, adhering to a simple rule can alleviate this issue: maintain consistency by using the same animations throughout your presentation.

While it might be tempting to incorporate various transitional animations for diversity’s sake, this approach can actually detract from your message and create unnecessary distractions.

Here are some of the most commonly used animations that I rely on:

  1. Appear: Perfect for making objects seamlessly appear in your presentation.
  2. Fade: My go-to animation for a smoother transition than Appear.
  3. Zoom: Ideal for quickly emphasizing elements within your slide.

Now that you’re familiar with the fundamental animation concepts, let’s explore a few real-world examples of PowerPoint animations and how they can elevate your presentation.

Capture Attention with Text Formatting Animations

Utilizing text formatting animations is a powerful technique to emphasize key text in your presentation. Here are several options for highlighting text effectively:

  1. Font Color: Alter the color of the text to make it stand out on the slide.
  2. Brush Color: Apply a brush effect to the text for added visual interest.
  3. Underline: Emphasize text by underlining it.
  4. Bold Reveal: Gradually reveal text with a bold effect.
  5. Bold Flash: Highlight a line of text with a bold flash effect, particularly useful in busy slides.

Bold Flash, in particular, is a compelling method for drawing attention to specific text amidst a cluttered slide.

By leveraging PowerPoint slide animation, you can easily direct attention to important text, enhancing clarity and focus on your message. Audiences appreciate presentations that are clear and concise, and slide animation facilitates effective communication of your ideas.

Also Read How to Create Labels in Gmail

Perfecting Animation Timing and Duration

Once you’ve grasped where to integrate animations, the next step is mastering when to animate.

As mentioned earlier, you have the option of using transitions and animations. It’s advisable to select only one per slide to avoid overwhelming your audience with visual stimuli.

Consider the context of each slide to determine the most suitable approach. If you aim to surprise the audience with a complete slide transformation, a transition might be preferable. However, if you prefer to reveal elements gradually, animations are more appropriate.

Moreover, pay attention to the duration of your animations, as it significantly influences the viewing experience.

Have you ever endured a presentation with sluggish transitions between slides? While initially captivating, prolonged visual effects can become tiresome over time, diminishing audience engagement.

Tip: Opt for faster animations with a duration of around 0.5 seconds. This timing strikes a balance between being noticeable and maintaining momentum, ensuring a dynamic and engaging presentation experience.

Dynamic Data Presentation Utilizing Animations in Charts

Harnessing animations to present data dynamically offers a powerful tool for engaging your audience and enhancing comprehension. Here’s how to effectively use animations with charts in PowerPoint:

Step 1: Add Animation to a Chart

Select the chart you wish to animate and add an animation. Opt for simple animations that complement your presentation without overwhelming the audience.

Step 2: Customize Animation Effects

Click on the Effect Options drop-down menu to access a range of options for controlling the animation order and data presentation. These options include:

  1. As One Object
  2. By Series
  3. By Category
  4. By Element in Series
  5. By Element in Category

Each option provides unique flexibility in presenting data within the chart. For instance, you can choose to reveal one piece of data for multiple years or display all data points for each year, depending on your presentation’s requirements.

By carefully selecting and customizing animation effects, you can effectively pace the presentation of data, ensuring clarity and engagement for your audience.

Reorganize Animation Sequences for Enhanced Visual Impact

As you refine your presentation, you may find yourself incorporating multiple animations in PowerPoint to enhance visual appeal. Should you wish to adjust the order of these animations post-creation, fret not! The Animation Pane provides a simple solution to manage and reorder animations effortlessly.

After adding animations to your slide, navigate to the Animations tab and select the Animation Pane.

Within the Animation Pane, you’ll find a clear and concise list of all animations on your slide. To rearrange the sequence, drag and drop animations up or down the list to your desired position. With just a few clicks, PowerPoint adapts to your new animation sequence seamlessly.

This functionality proves invaluable when fine-tuning the timing of your animations or crafting more intricate sequences.

Ultimately, the Animation Pane empowers you with complete control over your animation performance. By adjusting the placement of each animation effect, you can dynamically alter the pace and flow of your slides, ensuring maximum engagement and impact.

Streamline Animation Replication with the Animation Painter

The Animation Painter feature in PowerPoint is a time-saving tool that simplifies the process of duplicating animations across objects. Here’s how to utilize it effectively:

  1. Select the Object: Begin by choosing the object that contains the desired animation effect.
  2. Access the Animation Painter: Navigate to the Animations tab and click on the Animation Painter button. This action transforms your cursor into a paintbrush icon, indicating that the Animation Painter is active.
  3. Apply the Animation: Click on the object to which you want to apply the animation. The selected animation instantly replicates onto the new object.

The Animation Painter is invaluable for ensuring consistency and engagement throughout your presentation. It proves particularly useful when multiple objects require identical animation effects.

Remember: Consistency is key to maintaining a cohesive and professional look. By utilizing the Animation Painter, you save time and ensure that each animation aligns seamlessly with others, enhancing the overall visual appeal of your presentation.

Master Animation Flow with Custom Trigger Settings

The Trigger menu in PowerPoint is a powerful tool that allows you to precisely control how animations unfold on your slides. Located in the Advanced Animation group on the Animations tab, this feature enables you to specify the conditions that trigger an animation, whether it’s a mouse click or a specific timing delay.

For instance, suppose you have a picture on a slide that you want to animate when clicked by the viewer. Simply select the picture, then access the Trigger drop-down menu. From there, open the “On Click Of” field to explore your options. These settings ensure that the animation initiates only when the picture is clicked, providing a seamless and interactive experience.

Moreover, the Trigger menu empowers you to craft more complex animations. For example, you can configure one object to move across the screen when the viewer clicks on another object. By leveraging Trigger settings, you gain precise control over when animations start and how they unfold, allowing you to create dynamic and engaging presentations.

A Review Guide for Ensure Animation Consistency

Completing the addition of animations in PowerPoint marks a significant step, but your work isn’t complete just yet. It’s crucial to review your presentation meticulously to ensure that each animation functions as intended. Avoiding unexpected surprises during your presentation is paramount, and careful review helps prevent mishaps.

Here’s a systematic approach to reviewing your animations:

  1. Playback in Slide Show View: Take your presentation for a test run in Slide Show view, focusing solely on the animations. Pay close attention to how each animation flows and whether they align with your intended pacing.
  2. Assess Pacing and Balance: Evaluate the pacing of your animations. Are there sections with an excessive amount of animation, overwhelming the audience? Conversely, are there areas lacking animation, potentially leaving slides feeling static or unengaging?
  3. Evaluate Timing: Consider the timing of each animation. Does it feel natural and coherent with the presentation’s narrative? Adjust the timing as needed to ensure seamless transitions and effective storytelling.

Conducting a comprehensive review of your presentation allows you to fine-tune your PowerPoint animation effects for optimal impact. Address any inconsistencies or issues discovered during the review process to ensure a polished and professional presentation experience for your audience.

Elevate Your Presentation with Subtle PowerPoint Animations

Incorporating animations in PowerPoint can significantly enhance your ability to emphasize key points and highlight important information on your slides. Let’s consider an example to illustrate this concept:

Imagine you’re presenting quarterly results, and you want to draw attention to a significant improvement in Q3 compared to the previous year.

Here’s a step-by-step plan to achieve this effect:

Step 1: Add Emphasis Select the text “Q3: 6% increase” and apply the Underline emphasis effect. Underlining text is a simple yet effective way to draw attention to specific details.

Step 2: Adjust Timing Open the Animation Pane and select the newly added animation. In the Timing options, set it to start On Click. This allows you to control when the animation occurs during your presentation.

During your presentation:

  1. Begin by discussing the results of each quarter in 2024.
  2. Click to initiate the underlining animation for Q3.
  3. Share the story of how Q3, once the weakest quarter, has now become the strongest.

This approach demonstrates how pacing animations can enhance the delivery of your message, allowing you to strategically reveal information and engage your audience effectively. Utilizing animations in PowerPoint offers a superior alternative to overwhelming your audience with all content at once.

Enhance Slide Explanations with Step-by-Step Animations

When creating explanatory slides with multiple elements of information, it’s beneficial to reveal each step gradually to maintain audience focus and comprehension. Here’s how to incorporate step-by-step animations into your slides:

Step 1: Apply the Fade Animation Open the Animation Pane and select the first step. Choose the Fade entrance effect. Repeat this process for each subsequent step, ensuring to apply the Fade animation individually to avoid simultaneous appearances.

Tip: Carefully select each step separately to prevent them from appearing simultaneously.

Step 2: Set the Timing Open the Animation Pane to view the added animations. Click on each animation to access the Timing tab.

To emulate a timed progression, such as in a cooking class, adjust the timing settings accordingly. For instance, for a step that requires five minutes, select the corresponding animation (e.g., “Sauté Zucchini”). Set the timing to start After Previous and specify a delay of 300 seconds.

Here’s how it unfolds:

  1. “Grate Zucchini” appears.
  2. A five-minute delay elapses.
  3. Following the delay, the “Sauté Zucchini” animation triggers, revealing the next step.

This approach showcases how PowerPoint animations can build dynamically in sync with your presentation’s pace, enhancing engagement and comprehension for your audience.

Streamline Your Presentation for Utilize Transitions for Clarity

In presentations with cluttered layouts, employing exit animations or strong transitions can help declutter and simplify slides, effectively refocusing audience attention. Here’s how to achieve a cleaner presentation:

  1. Utilize Exit Animations: Remove individual elements on the slide using exit animations. This method helps declutter the layout, drawing attention to specific content.
  2. Opt for Strong Transitions: Incorporate powerful transitions between slides to create a visually impactful effect. While transitions like Morph offer smooth transitions by comparing elements between slides, animations such as Curtains, Crush, or Honeycomb provide stronger visual impact.
Note: Limit the use of visually heavy transitions to once or twice in a presentation to maintain balance and avoid overwhelming the audience.

By strategically employing transitions, you can effectively declutter slides and maintain audience engagement, ensuring clarity and focus throughout your presentation.

Save Time and Impress with Pre-Animated Premium Presentation Designs

PowerPoint animation effects are a powerful tool for enhancing presentations, but creating them from scratch can be time-consuming. That’s where pre-built templates come in handy. Elements offers a vast selection of animated templates that can save you time and elevate your presentations to the next level.

When you choose an animated template, you’ll find that animations are already incorporated into the slides. This means you can simply add your own content without having to worry about animating each element individually.

Using a pre-animated template doesn’t mean sacrificing creative control. You can still customize and adjust animations using built-in PowerPoint features to tailor the presentation to your needs.

It’s the perfect combination of convenience and creative flexibility. With pre-animated templates, you’ll save time while still being able to leverage the power of animations in PowerPoint to create impressive and engaging presentations.

Elevate Your PowerPoint Presentations with Enhanced Animations

In this guide, we’ll delve deeper into the realm of PowerPoint animation, building upon the fundamentals to create dynamic and engaging presentations. We’ll utilize a customizable PowerPoint template design to demonstrate these concepts effectively.

Download the provided template to follow along with the walkthrough, or apply these techniques to any PowerPoint template design of your choice.

Let’s explore how to make your presentations truly stand out by mastering the art of animation in PowerPoint.

When launching a PowerPoint presentation, your introduction sets the stage for engagement and comprehension. Here’s how to create a strong opening:

  • Showcase Your Organization: Begin by providing background information about your organization. Whether recruiting employees or pitching to investors, clarity on your organization’s mission and values is crucial.\
Example Slide: A simple fade-in animation can elegantly introduce your organization’s logo or key information, avoiding distractions.
  • Introduce Your Topic Clearly and Concisely: Emphasize organization and clarity in your presentation layout. Start with a simple layout to ensure ease of understanding before incorporating animations.
Example Slide: Consider object animations to gradually reveal key points, supporting the flow of information without overwhelming the audience.
  • Describe Your Progress Visually: Utilize visuals such as infographics to visually convey progress and data effectively. Consider animations to reinforce key points or emphasize important information.
Example Slide: Use animations to enhance infographics or selectively emphasize percentages, reinforcing their significance.
  • List Your Contact Details: Ensure your audience knows how to connect with you post-presentation. Keep animations simple and purposeful, emphasizing clarity over complexity.
Example Slide: Employ a clean fade-in animation for contact details, facilitating easy access for audience engagement.

When incorporating animations in PowerPoint presentations, remember to use them strategically to enhance understanding and engagement. Avoid overwhelming your audience with excessive animations and prioritize clarity in your visual storytelling.

Automating Animation and Slideshow Transitions in PowerPoint

You can streamline your PowerPoint presentation by automating both animations and slideshow transitions. Follow these steps to set up automatic playback in PowerPoint 2023, 2018, and 2016:

  1. Automate Animations:
    • Open your PowerPoint presentation that includes animations.
    • Navigate to the slide containing the animation you want to automate.
    • Select the animated object or text.
    • Go to the “Animations” tab on the PowerPoint ribbon.
    • In the “Timing” group, locate the “Start” drop-down menu.
    • Choose “With Previous” or “After Previous” from the menu to automate the animation’s start time.
    • Repeat this process for each animation you wish to automate.
  2. Automate Slideshow Transitions:
    • Open your PowerPoint presentation.
    • Go to the “Transitions” tab on the PowerPoint ribbon.
    • Select the slide or slides where you want to apply automatic transitions.
    • In the “Timing” group, check the “After” box and specify the duration for each slide to display before automatically transitioning to the next one.
    • Alternatively, select the “Automatically After” option and enter the desired time interval.
    • Repeat this process for each slide if you want consistent transition timing.

These steps will ensure that your PowerPoint presentation plays seamlessly without the need for manual interaction. Please note that while the interface may vary slightly between versions, the terminology and functionality remain consistent across PowerPoint 2023, 2018, and 2016 versions.

Also Read How to Create a Business Gmail Account

How to Create Animated Presentations in PowerPoint

  1. Open PowerPoint:
    • Launch PowerPoint by double-clicking the app icon or searching for “PowerPoint” in the Start menu (Windows) or Spotlight (Mac).
  2. Start a New Presentation:
    • Click on “Blank Presentation” to create a new blank slide.
  3. Add Content:
    • Insert images or text by clicking on the “Insert” tab and selecting “Pictures” or “Text Box” respectively.
  4. Select an Item to Animate:
    • Click on the image or text box you want to animate.
  5. Access Animations Tab:
    • Navigate to the “Animations” tab at the top of the PowerPoint window.
  6. Choose an Animation:
    • Scroll through the available animations and click on one to apply it to the selected item.
  7. Customize Animation Options:
    • Click on “Effect Options” to adjust specific settings for the chosen animation, such as direction or speed.
  8. Add Motion Paths (Optional):
    • Select the item and click on “Add Animation” > “Motion Paths” to create a custom animation path.
  9. Apply Animations to Other Items:
    • Repeat steps 4-8 to add animations to other items on the slide.
  10. Review Animation Order:
    • Check the order of animations by observing the numbers next to each animated item. Click on a number to preview the animation.
  11. Adjust Timing:
    • Select an animated item and adjust the duration and delay in the upper-right corner. You can also change the animation trigger.
  12. Reorder Animations:
    • Click on an animation and use the “Move Earlier” or “Move Later” options to change its position in the animation sequence.
  13. Copy Animations:
    • Use the Animation Painter tool to copy animations from one item to another.
  14. Add Exit Animations:
    • Select an item and choose an exit animation from the “Exit” animations row in the “Animations” section.
  15. Save as a Video:
    • Export your presentation as an MP4 video file by clicking on “File” > “Export” (Windows) or “File” > “Save As Movie…” (Mac).

Follow these steps to create engaging and dynamic animated presentations in PowerPoint.

FAQ’S for How to Create Animation in PPT

How can I add animations to my PowerPoint presentation?

To add animations, select the item you want to animate, go to the "Animations" tab, choose an animation from the available options, and customize its settings as needed.

Can I create custom animation paths in PowerPoint?

Yes, you can create custom animation paths by selecting the item, clicking on "Add Animation" > "Motion Paths", and choosing a motion path option.

How do I adjust the timing of animations?

To adjust timing, select the animated item, and change the duration and delay settings in the upper-right corner of the window. You can also modify the animation trigger.

Is it possible to copy animations from one item to another?

Yes, you can use the Animation Painter tool to copy animations from one item to another by selecting the animation you want to copy and then clicking on the Animation Painter button.

Can I save my PowerPoint presentation as a video?

Yes, you can save your presentation as a video by clicking on "File", then "Export" (Windows) or "Save As Movie..." (Mac), and selecting the desired file format and location to save the video.

1 thought on “WOW! How to Create Animation in PPT 2024”

Leave a comment